Download Code and Install on Your Web-Server
If your code is finished generating, you should see a menu item in the left sidebar called Download Full Code.
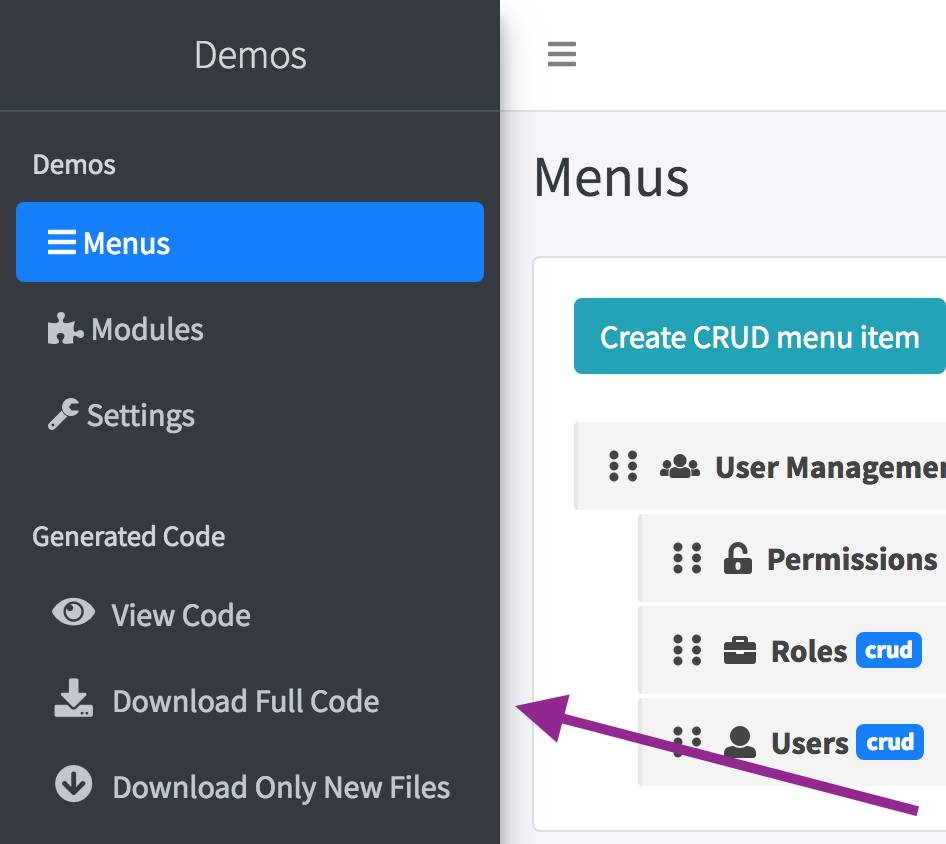
Clicking it will initialize a download of full ZIP archive for your Laravel project, also showing a modal window with Installation instructions.
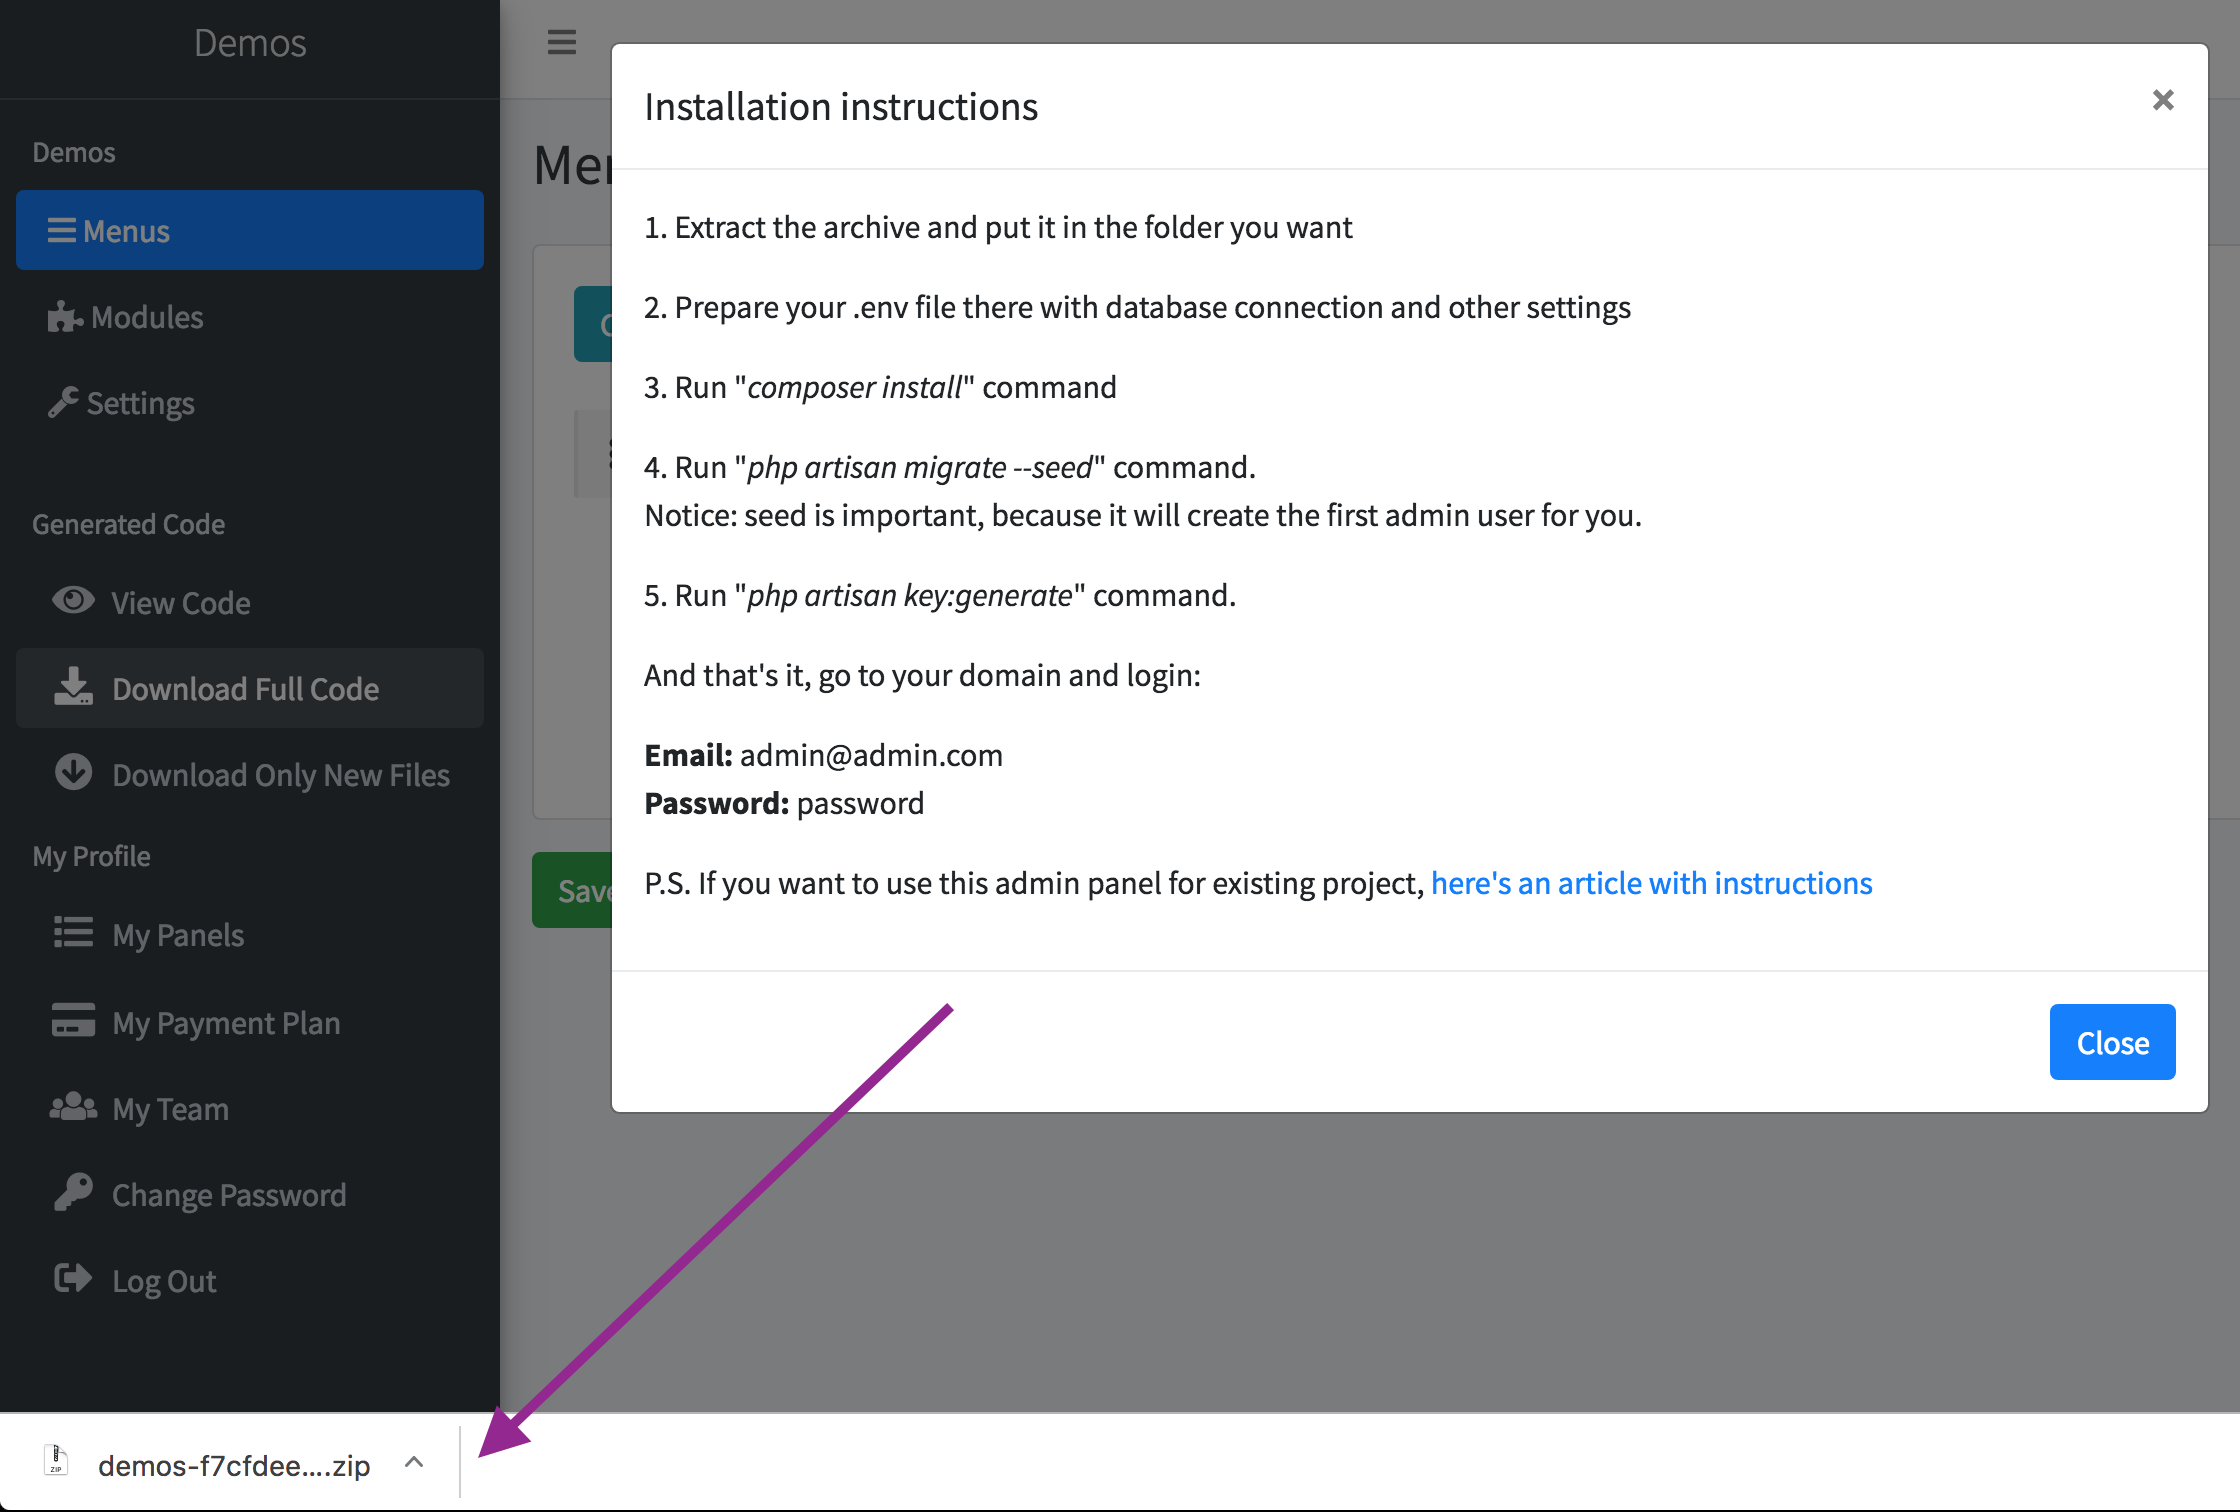
Then, you should unzip the archive and put the files in your web-server folder, configured for Laravel. Code structure should look something like this:
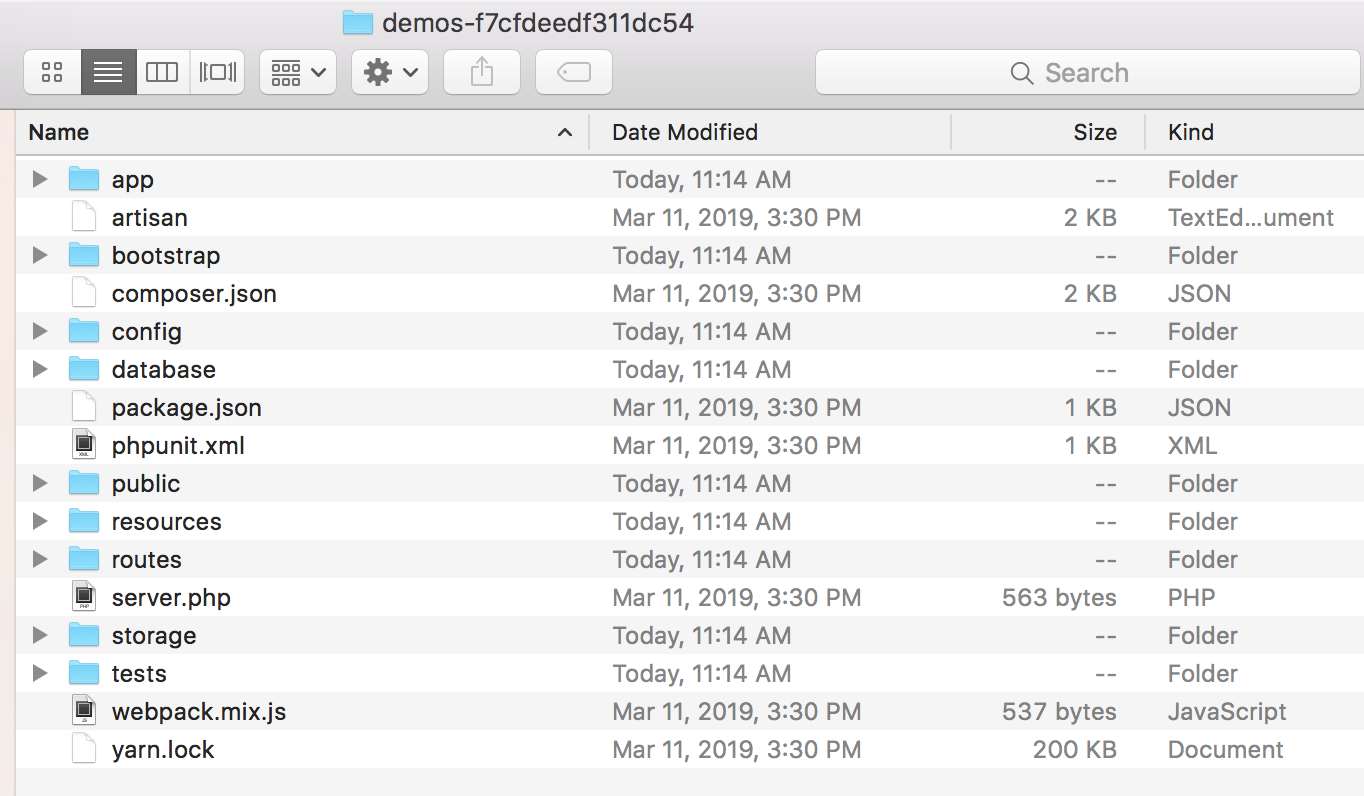
Finally, you need to perform a set of Laravel-related commands in Terminal to install the project. These commands are typical to ANY Laravel project, and are not specific to QuickAdminPanel-generated code - we are trying to stick to standards.
Run cp .env.example .env command to copy example into real .env file, then edit it with DB credentials and other settings you want
Run composer install command
Run php artisan migrate --seed command. Seed is important, because it will create the first admin user for you.
Run php artisan key:generate command
If you have file/photo upload fields, run php artisan storage:link command
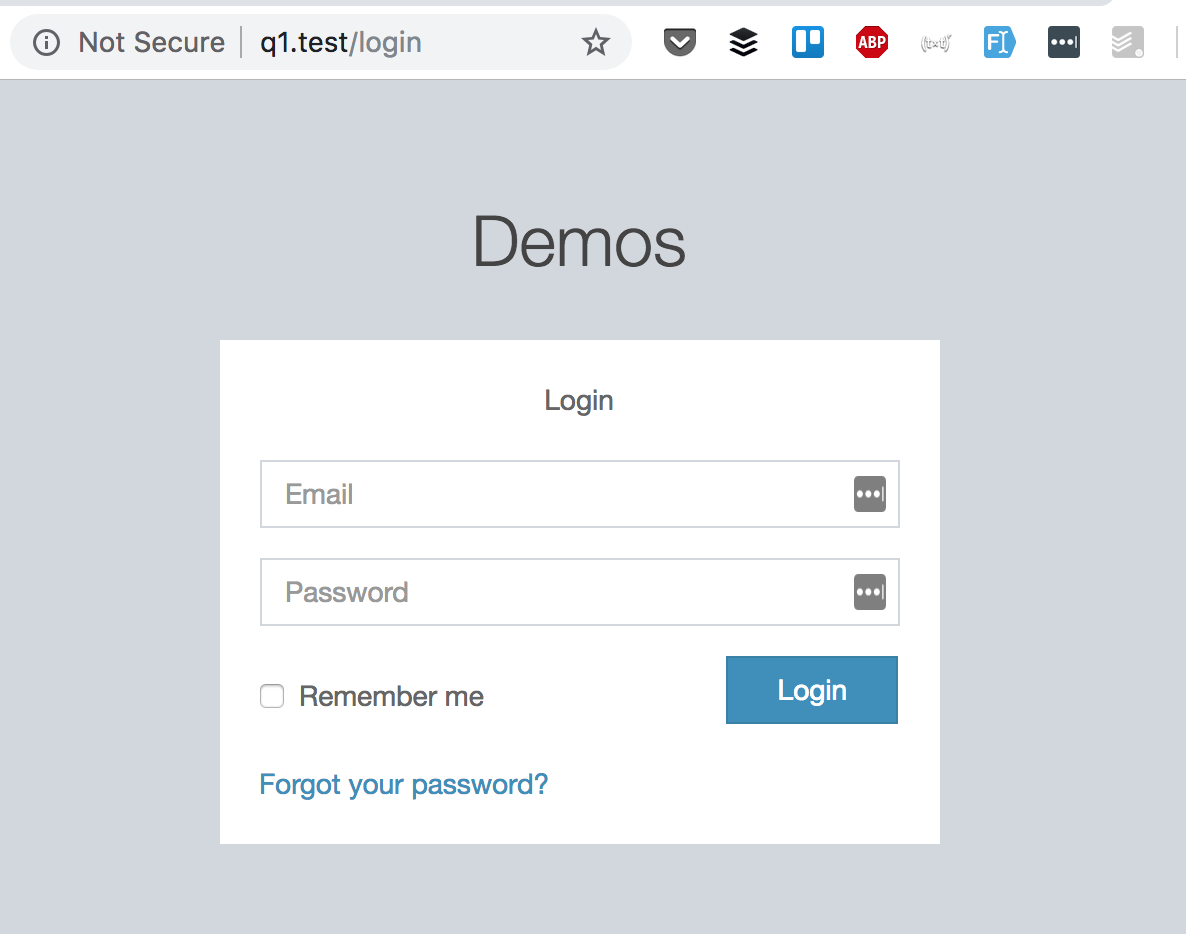
And that's it, go to your domain and login with these credentials: [email protected] - password
System Requirements
We generate typical Laravel code, so it requires the same things as general Laravel installation - see official Laravel documentaion.
Minimum PHP version:
PHP 7.2.5 for Laravel 7
PHP 7.2 for Laravel 6
PHP 7.1.3 for Laravel 5.8/5.7/5.6
If you have file/photo upload fields in CRUDs, we also require MySQL 5.7.8+ or MariaDB 10.2.7+ with JSON columns support, cause we use Spatie Laravel Medialibrary for file storage, and it requires JSON columns for "media" DB table with polymorphic relationship.
Also, at the time of writing, Spatie Medialibrary v7 has dependency to its PDF-to-image package which requires Imagemagick PHP library. Here are instructions how to install Imagemagick - for Ubuntu, and for Windows. Or you can run installation with special flag: composer install --ignore-platform-reqs
Configuring domain and public folder
Official Laravel installation guide says this:
After installing Laravel, you should configure your web server's document / web root to be the public directory. The index.php in this directory serves as the front controller for all HTTP requests entering your application. So you need to configure your web-server domain to point to /public of the downloaded project.
Example domain configuration lines from Laravel Homestead file Homestead.yaml:
Here's domain setup instruction for other web-servers:
Lastly, don't forget to add your domain as .env file as APP_URL value:
For more details about Laravel project installation on production server, please refer to our two articles:
If you encounter any error in the process, please read error message carefully - it may be related to misconfiguration in your server (older PHP version, missing config value etc.). If you can't resolve the problem by yourself, please message us via live-chat or email [email protected], describing the problem with as many details as you can.
Last updated