Creating a Simple CRUD
Notice: if you need the documentation for Vue.js QuickAdminPanel generator, released in 2020, please click this link.
Video version of the tutorial
Text + screenshots version
To create a new CRUD, click Menus / CRUDs on the left sidebar, and then Create CRUD Menu Item in the center.

You will see a form, like below.

On the top you need to enter the CRUD Model name (in singular, like "Project" or "Transaction"), choose Font Awesome icon and parent menu, if needed.
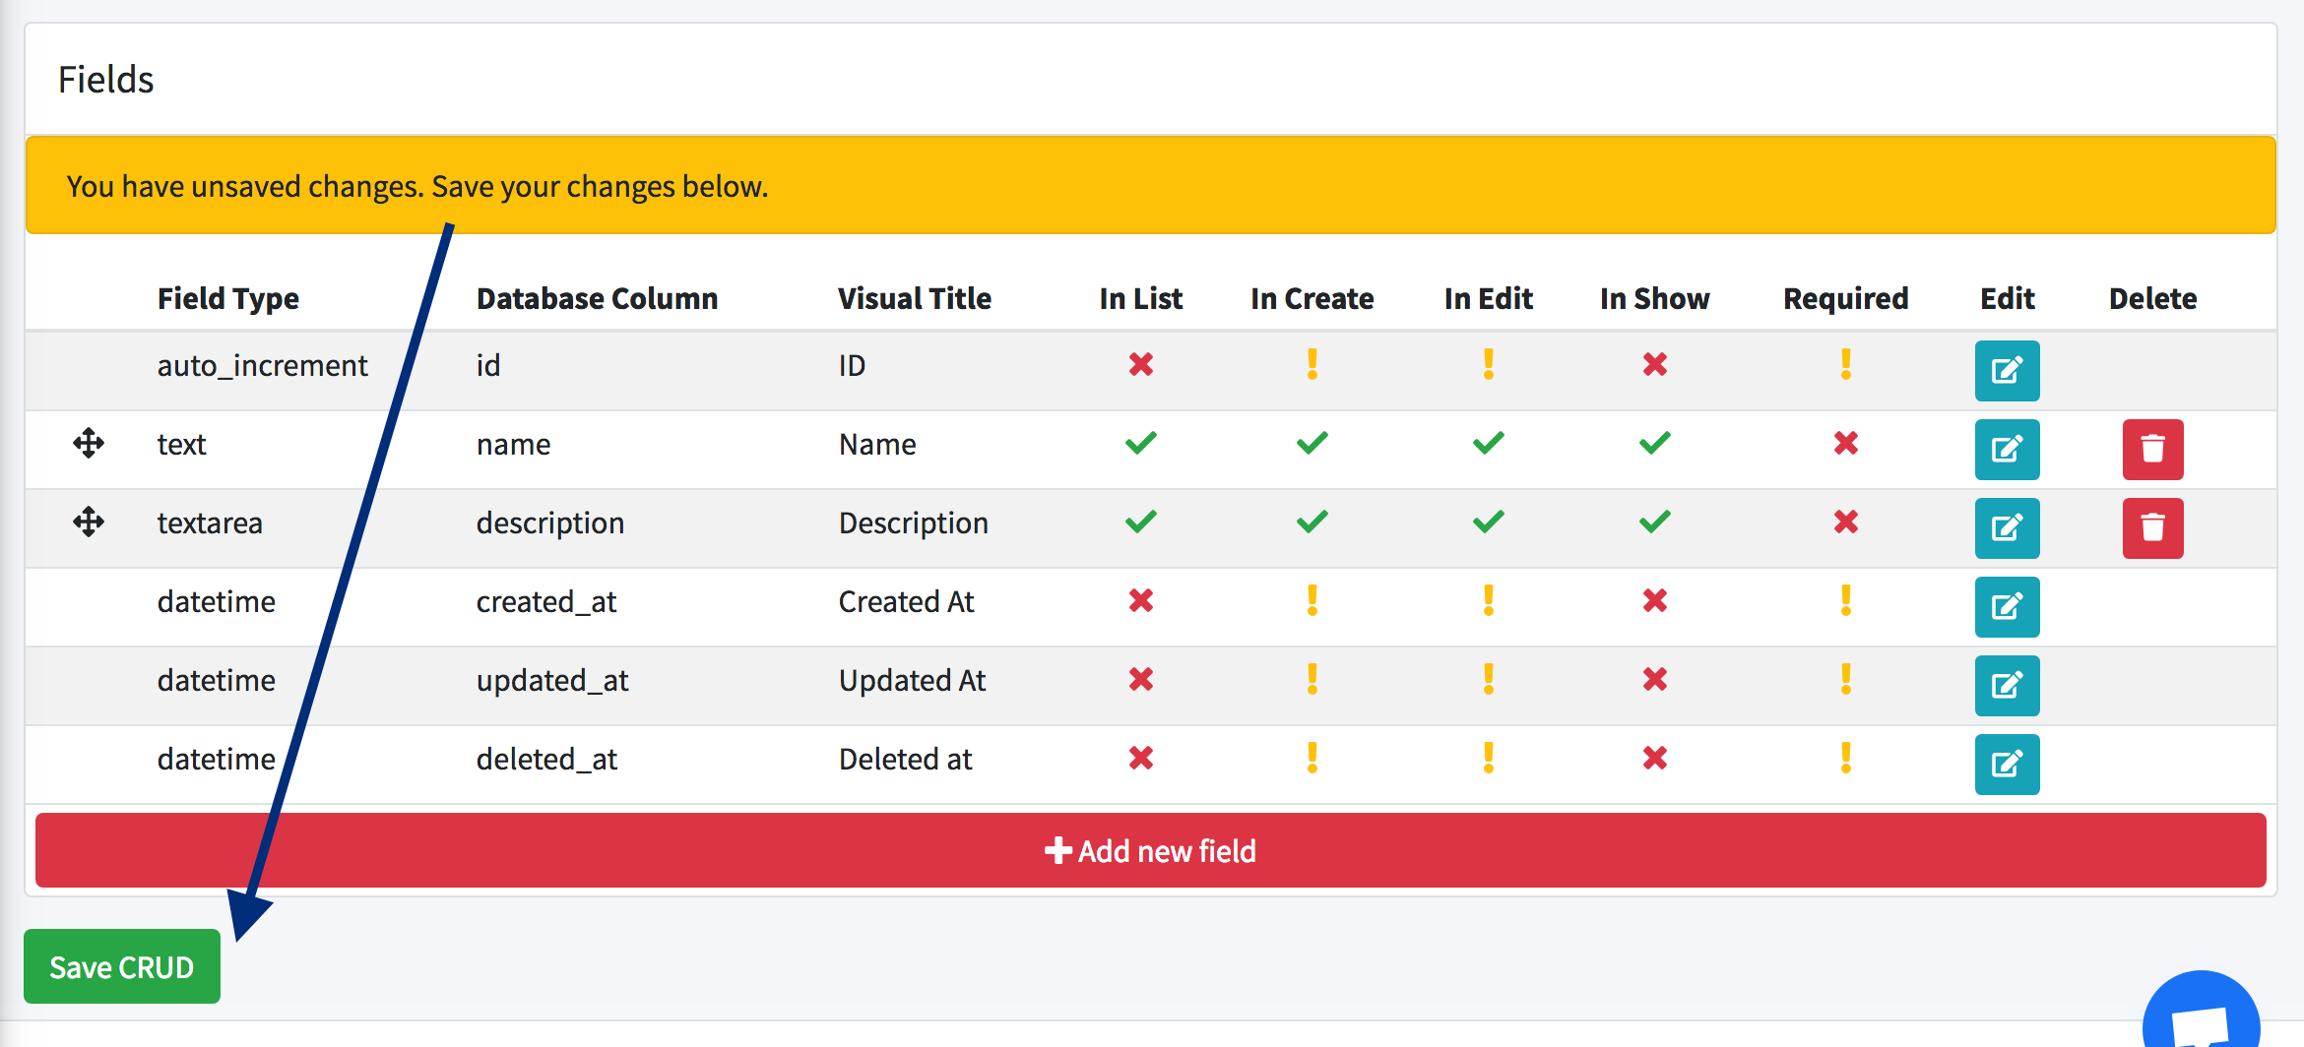
At the bottom, some fields are pre-filled for you: id, timestamps, soft-deletes.
To add a new field, click Add new field row. You will see this form:

There is a dozen of field types, in the most simple Text field type you only need to add Key and Label, and click Save.
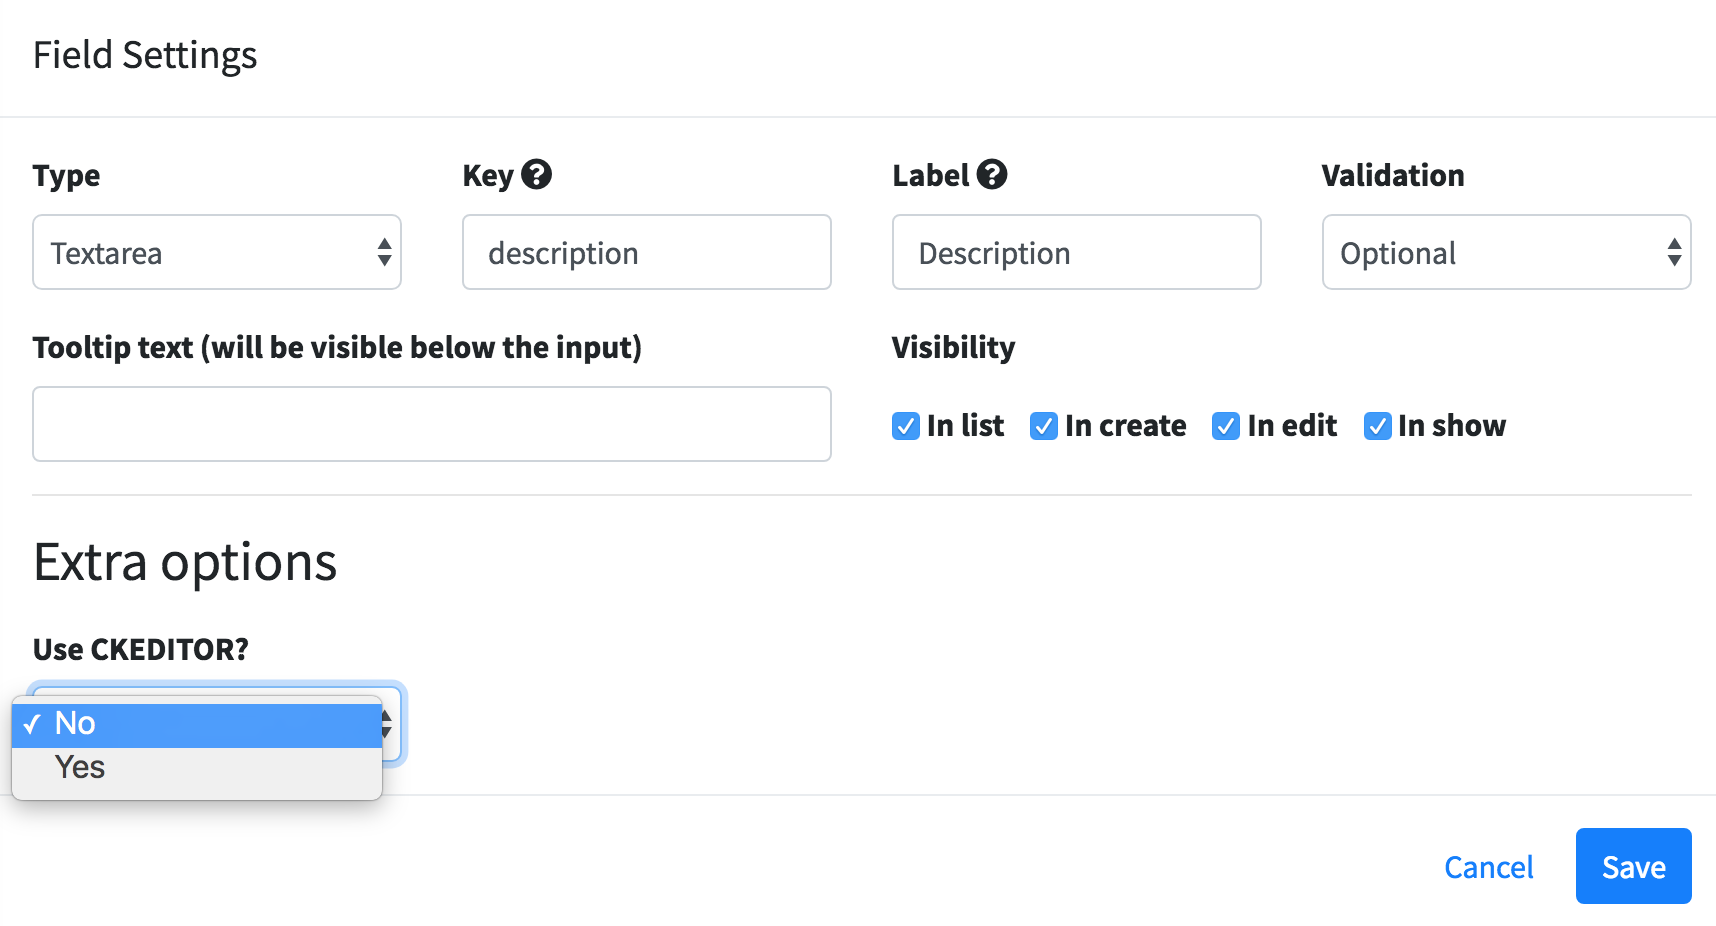
Every field type has its own settings. For example, if we add another field with Textarea field type, we can choose whether to use CKEditor:

After you finish entering all the fields, just click Save CRUD at the bottom of the fields.

Then the code will start generating, and you will see the progress in the left sidebar - when you're able to View or Download new code.
Table Settings
At the bottom of Create CRUD page, there are three settings for the visual table that will be shown for the list of that DB table:
NEW! You can enable column search (to have input search for each individual column)
You can modify amount of entries per page (default 100)
You can change ordering (default is newest-to-oldest, so "order by id desc")

Additional Options
At the top of CRUD form, there is a link Show more options which opens up a few extra settings, which are all enabled by default, but you can disable them.

Here, you can enable/disable:
Soft Deletes - read more about them in Laravel documentation
To generate or not generate API routes/controllers
What actions are needed for this CRUD - maybe you need only create but not edit form
Also, you may see more options here, depending on the modules you have installed.
Last updated